Uploading Your Files to YouTube
YouTube is one of many apps in Truman’s GSuite for Education. Truman users can log-in to YouTube with their Truman credentials to access unlimited video file storage space. YouTube is specifically designed for video delivery and works well in integration with Blackboard.
YouTube also provides a means to use machine transcriptioning to make your videos accessible to all students, helping to ensure Truman’s goals for Universal Design for Learning.
How to upload files to YouTube –
Watch this great video from YouTube to learn the process, just be sure to log-in with your Truman credentials. Or, follow the steps below.
- Go to https://www.youtube.com/ and sign in with your Truman credentials
- Click on the symbol in the upper right that looks like a camera with a plus sign on it and select “Upload video”
- Select the video you have created and click it to upload. You can select “Public”, “Unlisted”, or “Private”. We recommend “Unlisted”.
- After the upload is complete, a window will open that shows the link you can copy and paste to share the video with others
Additional Detailed Support Information from YouTube
How do I add transcription files I already have to YouTube?
If you already have a transcription file created, you can upload it to your YouTube video.
- First, sign into your YouTube Studio.
- Then, select “Videos” from the sidebar on the left.

3. Find the video that you want to add your transcription to, and select its thumbnail.
4. Select “More Options“
5. Select “Upload Subtitles/cc“
6. Select whether you want the transcript uploaded with or without Timing.
7. Choose the transcript file that you want to upload.
8. Select “Save“
How do I use YouTube to make transcription files?
You can also use YouTube to help you create your transcription or closed captioning files, but you’ll want to be sure to double check their accuracy.
- Sign in to YouTube Studio
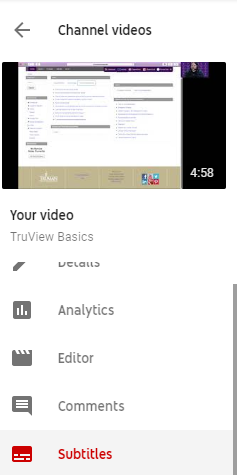
- From the sidebar on the left, select “Subtitles“

3. Select the video you’d like to edit
4. Click “Add Language“, and select the language you intend to use
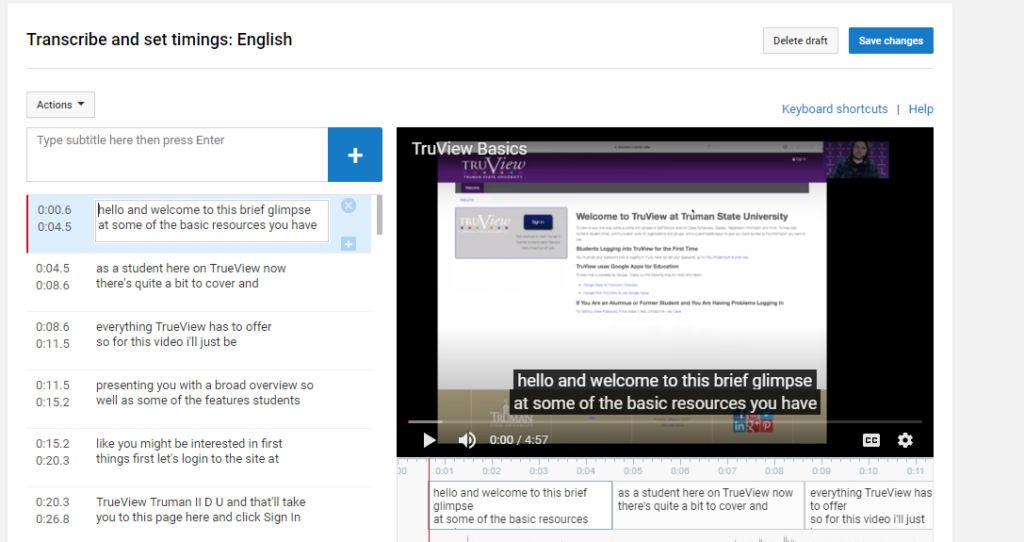
5. Once you’ve added your language, YouTube will automatically try to create subtitles for you. However, the program is not completely accurate, so you’ll want to check it for embarrassing or confusing mistakes. To do so, click on the horizontal dots next that appear when you hover your mouse under the “Subtitles” column.

6. Select “Edit” or “Edit on Classic Studio“
7. Here, you’ll want to click “Edit” at the top right of the page. Once you’ve done that, you can begin to look at the automatically captured transcription on the left, editing as needed.
